It's
been a while since my last Disney nail art recreation but I definitely
struggled deciding what I wanted to do for Snow White. There weren't too
many other nail art designs with her as the theme (compared to other
Disney princesses) so I had trouble finding "inspiration"/something to
base the look off of. In the end, I found two designs (I forget where
exactly) that I liked so I combined them to come up with this look
below!
My
bow was a bit messy but overall I'm pretty pleased with how it all came
together. It's a simple french tip with a twist. It was a little weird
putting the red rhinestones at the tips of my nails so if you aren't
comfortable with that, you can just dot on red circles instead. I think
this is a nice look because having red, yellow, and blue (Snow White's
main colors) all over your nails can be a bit overwhelming and this was a
good compromise.
The nail polishes I used to create this look are as follows:
-Forever 21 Nail Polish in Ruby Red
-Revlon Colorstay in Coastal Surf
-Orly Nail Polish in Lemonade
I
added red rhinestones that I got from a wheel palette off of Ebay for
less than a dollar and drew on the bow using a dotting tool and
toothpick (either or is fine). I finished off my nails with (as always) a
coat of seche vite (and extra at the ends to really make sure my
rhinestones stuck). Below is a step-by-step visual of what I did (sorry
it's so much harder to take a step by step of my actual nails when I'm
painting them!).
Anyways
I hope this gives some of you inspiration for any Snow White themed
occasion you might have. If not, well, it's still nice to look at right?
;)
A blog about the random discoveries of beauty through the life of a normal girl.
Showing posts with label disney. Show all posts
Sunday, February 7, 2016
Disney Princess Series Nail Art: Snow White and the Seven Dwarfs
Thursday, November 19, 2015
Disney Princess Series Nail Art: The Little Mermaid (Ariel)
Summer always seemed like the right time to do mermaid nails but I never got around to it so now in the fall it does seem my nails do look a bit little misplaced or out of season. Nevertheless, they are definitely super bright and will catch anyone's eye ;) I highly recommend you have a good strong top coat or nail adhesive so that your jewels don't fall of though. I used my standard Seche Vite topcoat without any problems.
The nail polishes I used are as follows (from left to right):
-Forever 21 Nail Polish in Red
-Barry M Nail Paint Gelly in Greenberry
-Covergirl Boundless Color in Gold Rush (discontinued)
-butter LONDON 3 Free Nail Lacquer - Marbs
I blotted on the gold nail polishes by wiping off any excess nail polish and also painting some of the gold polish on a makeup sponge and dabbing it onto my nail. If I were to redo this look I would get a thicker larger and chunkier gold glitter nail polish though as the gold glitter I have was way too fine for the look I was going for.
Well that's my nail art rant/post of the day (week? month?). I hope you guys enjoy and try to recreate it! If you do, please tag me on instagram or twitter (@creamydinner) or leave a comment below!
Monday, July 20, 2015
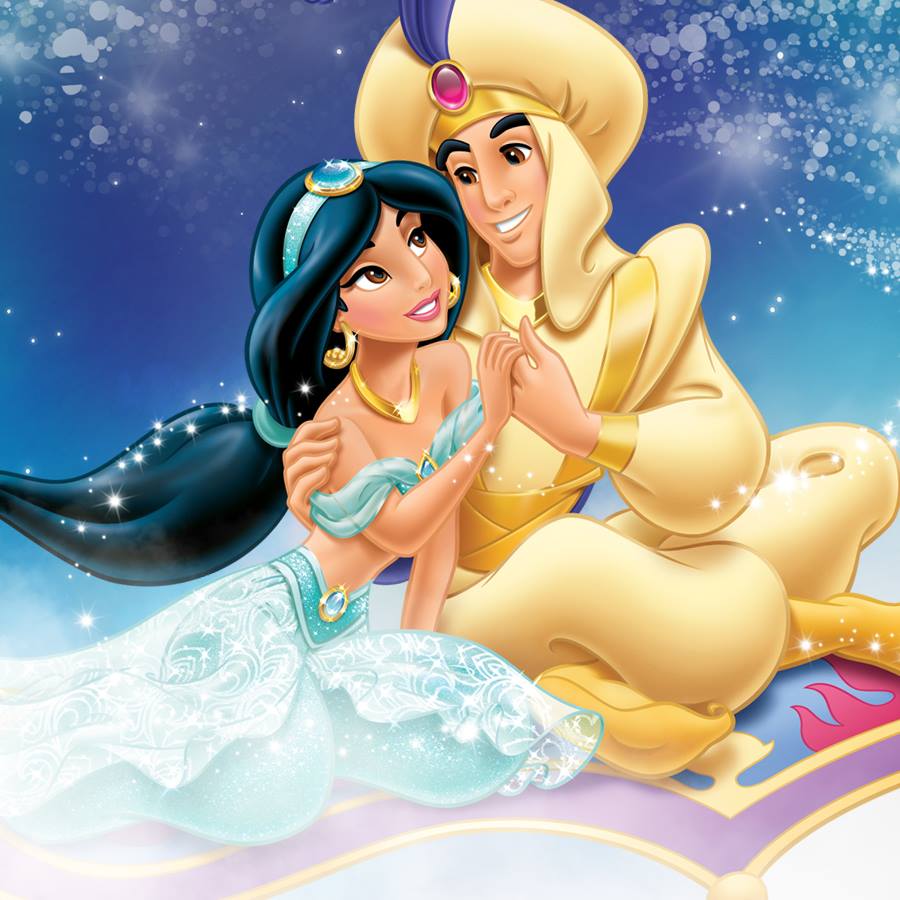
Disney Princess Series Nail Art: Aladdin (Princess Jasmine)
I'm not sure why but I've never particularly favored Princess Jasmine or the Disney movie Aladdin. Not that I didn't like the movie or anything, but maybe it was just I didn't like the genie so much. I'm really not sure. But the reason I bring this up is that the nail look I did inspired by Princess Jasmine is actually my favorite out of my entire Disney Princess series so far. I didn't come up with this look myself, I got it from Pinterest so don't give me credit but I seriously just LOVE the look! The tips with the gold accent and single rhinestone are just.. ooh too much amazingness. I got so many compliments when I wore this so I hope some of you try to recreate this nail look too :)
You can see that I didn't do the lines perfectly on my thumb but it still looks nice nonetheless. The steps I took are outlined and roughly sketched below (I'm trying be more helpful for recreating any of my nail looks haha).
I used the striper brush from LA colors gold nail polish but because that gold is too sheer, I would dip the brush into my more opaque gold polish (I used Butter London's The Full Monty but you can use any brand really) before using it. I used a dotting tool to create the circles and also used it to drag the dots inward to connect them with the other lines (see nail image 5 below). I lastly added a green/turquoise gem in the middle and applied my Seche Vite top coat to make it look like shiny gel nails <3
-Barry M Hi Shine Nail Paint in Green Berry
-Butter London's The Full Monty Nail Lacquer
-LA Colors in Gold Glitter
Wednesday, July 1, 2015
Disney Princess Series Nail Art: Sleeping Beauty (Aurora)
In the next installation of my Disney Princess themed nail trend, I decided to do Sleeping Beauty, also known as Aurora. It's weird, the last time I watched it (which was a while ago but I still remember quite clearly), I remember thinking it was a little creepy the way Aurora gets possessed. I mean like it just looked super scary, but as a little kid, I don't remember being scared at all when she was walking to the spindle and pricked herself.. so who knows haha. Maybe I'm just a bigger scaredy cat now ^__^;
I added strips of gold nail striping tape between the two colors but that was after I had taken photos and I realized it was missing something. The bit of gold definitely tied the entire look together so much better so if you do plan on recreating the look, I highly suggest you use the gold tape (it's super easy to use!) or, if you don't have that, use a gold polish and line the borders. You can see in the below photo the gold a little bit (sorry it's not clear, it's from another photo a friend took where the focus wasn't the nails). Doesn't the extra gold really tie this whole "princess" look together?!
I used the following nail polishes to make this look but remember you can use whatever you have! This looks is great because it only uses two colors. The hardest part is just getting that sort of triangle tip and even if you're not great at doing it, having the gold striping tape really helps to cover up any mistakes and make it LOOK like you had perfect straight lines (:
-Sally Hansen Xtreme Hard as Nails in Fuchsia Power
-Essie in Ballet Slippers
-Seche Vite top coat (the usual)
-Gold striping tape on ebay (as listed above)
Anyways I hope you guys are all enjoying the summer weather (it's so hot where I am!) and these nails are the perfect summer color so if you do recreate this look, please link me or send it over! :)
Friday, June 26, 2015
Disney Princess Series Nail Art: Beauty and the Beast
I used the following nail polishes if you want to try and at least recreate the same color scheme. If you don't have stickers like I did, you can definitely still just use a gold glitter and apply it at the tips or in a half moon at the bottom or draw more red flowers (and better than mine). I really hate how blotchy my red rose was sigh but I think my right hand flower also had ugly leaves so that didn't help.
-Zoya in Piaf
-Sally Hansen Hard as Nails Extreme Wear in 180 Monarch-y
-Essie Mojito Madness
-Forever 21 Ruby Red
Thursday, June 18, 2015
Disney Princess Series Nail Art: Cinderella
So it's been a while since my last post but I wanted to share with you all my latest nail art creations. I'm currently doing a Disney Princess theme of nail designs and today's nail art design is inspired by Cinderella! It's a really simple look but I got so many compliments on it and I absolutely love it! If you don't already, I highly recommend you use Seche Vite as your top coat. It's what gives all my nails this beautiful glossy finish that looks like gel nails. You have no idea how many people have asked me if I got my nails done at a salon since I started using Seche Vite.
I cheated and used some stickers I got from China/Hong Kong which added the extra bling to my nails but honestly it's not necessary! Even simply having the baby blue and accent silver glitter nail is enough to make this look Cinderella-themed. You can buy nail stickers for real cheap off of Ebay like these but if you don't want to wait the 3-6 weeks it takes to ship from China, then I'd suggest just using silver glitter and decorating more nails if you wish. You can take larger glitter chunks and create a curve line like on my pinky (in the above photo) or do a glitter gradient starting from the top or bottom of one or two nails. It's really up to you!
I used the following nail polishes to create these Cinderella nails:
-Revlon in Blue Lagoon
-Essie in Set in Stone
-Sally Hansen Hard as Nails Xtreme Wear in Showtime
-Seche Vite Dry Fast Top Coat
-Revlon in Blue Lagoon
-Essie in Set in Stone
-Sally Hansen Hard as Nails Xtreme Wear in Showtime
-Seche Vite Dry Fast Top Coat
I only used the Sally Hansen silver nail poilsh as a base to apply Set in Stone over so I wouldn't have to use as many coasts of the Essie glitter polish to get a more "opaque" finish. You can use any silver really though. The Revlon nail polish only took two coats and its a relatively thin formula so they dry super quickly. After that I let my nails dry for at least an hour (I actually waited a whole day if I recall correctly, just because I didn't have time to finish the day before) before applying on the extra stickers. I then sealed it all in with my Seche Vite top coat. 

I hope you all enjoyed this and please send me your recreations! This look is so simple and perfect for anything like a ball (or more modernly known as prom/dances/etc) :)
Friday, June 6, 2014
Frozen's Princess Elsa Inspired Makeup Look
One of the most popular Disney princess movies ever was Frozen, recently released in November of 2013. Princess Elsa is definitely beautiful and her purple eye look really stands out. Right after I watched the movie, I was inspired to do a makeup look based off of Princess Elsa's look.
I used the above photo for reference when I was creating this look in case any of you were wondering. I'm in no way saying I look like her or that I could ever look as gorgeous as she does, but I had a lot of fun recreating her look!
I know this is super late and probably way out of season (much more appropriate for fall or winter when I had originally done this) but I just wanted to share it with any of you guys interested. I used a mix of purple shadows and can do a makeup tutorial if any of you are interested~!
Subscribe to:
Posts
(
Atom
)