Showing posts with label lacquer. Show all posts

Wednesday, March 16, 2016

[Nail Look of the Day] Lace, florals, and polka dots; who wants a tea party?

I was inspired by a photo I found on Pinterest (if you want to see the original, you can sift through my nail inspo board here) and decided to recreate the look. I think the flowers turned out really well (I used a different blend than usual to make my petals) and I was really pleased with my pinky-peach base color.
Unfortunately, I can't really share what nail polish I used to get the base pink-peach color because I actually used two sheer nail polishes to create it. I started with a coat of a peach nail polish that had too much orange undertones for my liking (it's an Asian brand - The Face Shop - if you're interested but I doubt it's still in production). It's relatively sheer so I let it dry and then did one super thin coat of Revlon Pink Cafe nail polish (I've used this a couple of times in previous nail looks). This nail polish starts off being pretty sheer and "jelly" like (if that makes sense) which allowed me to layer the two colors without having one totally block out the other. I'm definitely pleased with the end color.
Once I let my base color dry, I created half moon shapes with my a pale pinky white nail polish. In retrospect, I would have done this layer first THEN painted on the pink-peach color because it was pretty hard to make the rounded curves this way around especially because my pale pink-white nail polish brush (a Julep polish) was super fat and not made for tight corners. I think a white would have made this layer stand out more (I actually did use a white polish for my pink nail which you can see in the photo above and it made that layer look like BAM so much more obvious. It depends on the look you're going for I suppose. While this layer was drying, I used a dotting tool dipped in that same pink-white lace color to draw half circles to create that "lace" look adn then used aother dotting tool dipped in white nail polish to create polka dots around the half circles or on the pink-peach base area. This part was tricky because I tried making some dots INSIDE the half sphere space but it wasnt very large so not sure if it made the look better or worse.
After that, I just drew on the flowers by having a small puddle of a hot pink (Sally Hansen Hot Magenta) and light pink (Sinful Colors Easy Going) and using a dotting tool to mix the too a little before placing the tip on my nail and creating a circle of swirled color that looks like a rose. Using a toothpick or a thin dotting tool, I used a green color that I created by blending Essie Mojito and Sally Hansen Emerald Express. I wouldn't suggest this and would advise just getting an actual dark green color because Emerald Express is a glitter polish but it was the only dark sort of green color I had and I wanted to tone down Essie Mojitio.

Anyways, I'm not sure if this post was terribly helpful but hopefully the pictures were inspiring or fun to look at if anything. Please excuse the dryness and wrinkliness of my cuticles and palms by the way! :) Feel free to leave a comment below with any questions, suggestions, or requests!

Saturday, January 24, 2015

Get the [Nail] Look: Flower Tips

So lately I've taken to Pintrest for nail look ideas and I came across this one that I was absolutely in love with this one nail look (shown below) that I kept seeing on literally everyone's board!
I loved this look so much that I decided to try and recreate it. I couldn't find the right pink, and I still can't! So if you know what polish looks similar to the pink in that picture, PLEASE let me know down in the comments below because I literally spent an hour searching up very pastel pink nail polish and swatch trying to find the perfect color. I ended up giving up because I couldn't find any color close enough and just stuck to a very light pastel pink that I had. It's a bit too light for my liking but I'm pretty happy with the end result!

I used the following nail polishes (shown in order from left to right):
-Sinful Colors Nail Polish in Easy Going
-Essie Nail Color in Mojito Madness
-Revlon Colorstay Nail Enamel in Cafe Pink
-Orly White French Tips Nail Polish
-Essie Nail Color in Camera (discontinued)

Although the bright red nail polish by Essie is discontinued, you can use any sort of red-pink nail polish that would blend well with the pink. Or you can totally make this look your own and choose a different flower color like yellow roses or even blue roses if you're feeling creative ;D
Steps:
1. Paint base coat with Easy Going by Sinful Colors. This polish can be pretty streaky so you need at least two if not three coats. Wait for it to completely dry. Be patient!
2. On a scratch piece of paper, put a drop of the white (Orly French Tips), pink (Revlon Cafe Pink), and red-pink nail polish (Essie Camera) so that they're all touching. Using a rounded tip (ie. a dotting tool or the knob of a bobby pin), swirl right in the middle where all the colors meet so that your rounded tip has a bit of all colors.
3. In a C or circular shaped motion, start drawing the first petal of your rose. Continue on going towards the center. Paint about three roses per nail. (Try not to crowd them as much as I did so leave some extra space in between). Let dry.
4. Add the leaves! Using a green polish (Essie Mojito Madness) and a tooth pick, create leaf like structures.
5. Let it all sit a bit before adding a top coat. I used Seche Vite as usual which works for not completely dried polish but it depends on what top coat you are using. Be careful that your design isn't so wet that it smears when you add the top coat.
6. Finished~! Make sure to take a picture for instagram and tag me (@creamydinner) ^__^

Sunday, November 2, 2014

Autumnal Inspired Nails

Ah finally the leaves are beginning to turn that beautiful red-orange-brown and the weather is cooling down into the perfect leggings+boots+scarves weather. YES it is the signs of Autumn and I couldn't be more excited :)
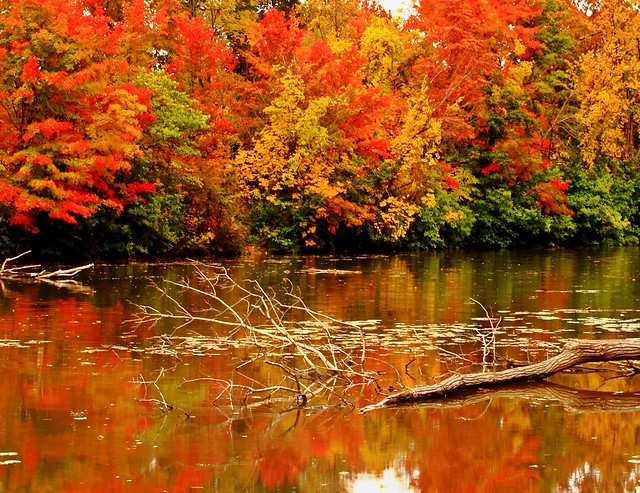
Some random picture of Fall scenery that I found online. Doesn't it make you just so happy? :)
Today I wanted to share a simple nail look created with a mix of those more earthy-toned cream shades. I chose all cream colors and it actually looked fine without the gold accented sticker designs (actually better in my opinion but I can't really take off the stickers now sigh..). I was inspired by a nail look I saw online featuring simple colors so I chose out whatever autumn shades I had in my collection and came up with this!


 I kind of hate how you can see the fine details with such an enlarged photo haha especially since you can see all the beauty of my dry cuticles and the lines of the stickers and the bumps in the nail polish (sigh) BUT BESIDES THAT, I love the look! I was a bit impatient on putting the stickers on so I definitely messed up my nails but the overall effect is just so fall-esque and I totally loving it. 


I used the following nail polishes to get this look:
-White: Orly Nail Polish White Tips #42001
-Orange: Korean brand that I can't seem to find the name for so I'll show a picture of a similar shade
-Maroon: Zoya Natural Nail Polish Coco
-Dark Grey (that looks blue tinted but really isn't): Maybelline Color Show Nail Polish Lacquer Impeccable Greys 410
-Nude: 3 Concept Eyes (3CE) Nail Lacquer #BE02

I realized I really need more warm-toned/fall nail shades like an olive green or a dark brown so let me know in the comments if you know any nice nail polishes that you think I'd like and I might pick them up and use them in another nail look!